Initial Setup
Quick start
The first-time setup helps you configure the essentials.
- Press and hold the Power button to turn on the phone.
- Wait for Senifone to start.
- Swipe up from the bottom of the screen to unlock.
- Enter your SIM PIN if needed, or insert a SIM card first.
- Follow the setup wizard on screen.
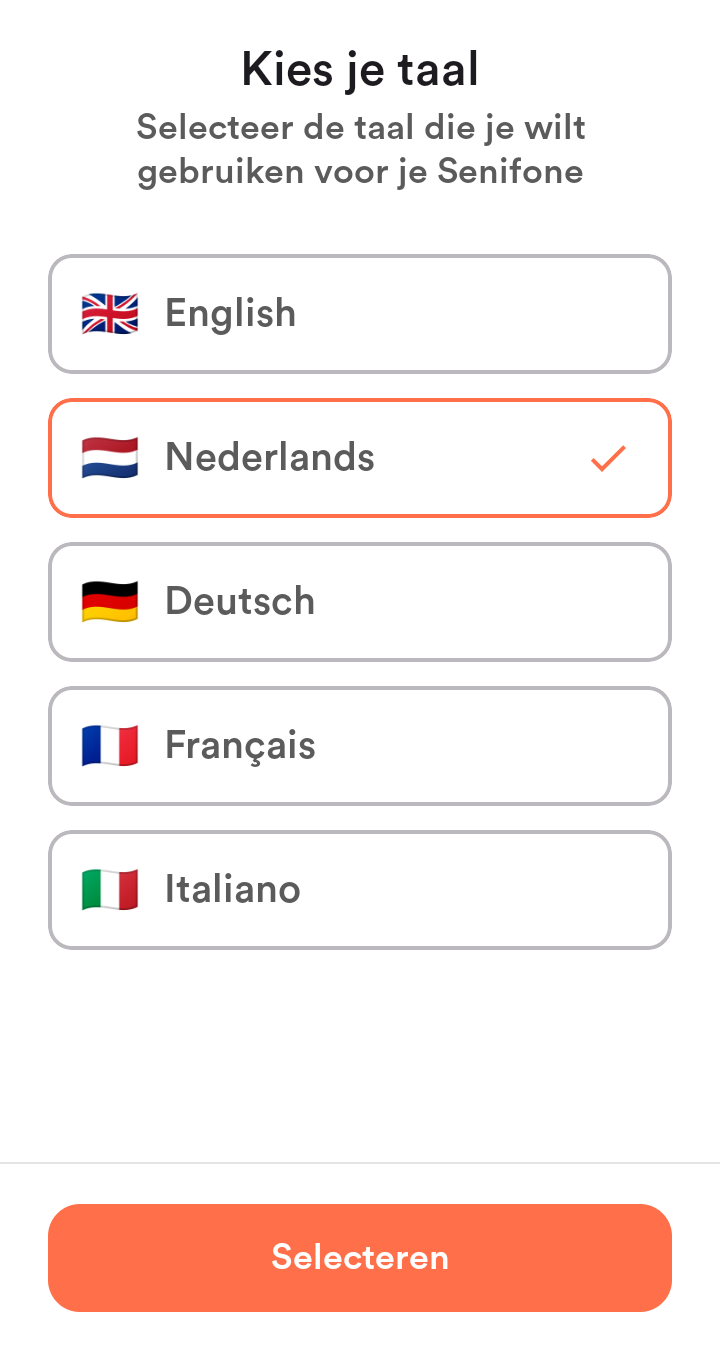
Language selection
- The default language on your device is Dutch.
- Choose your preferred language if needed.
- Press Select.
Welcome screen
- Press Start setup.

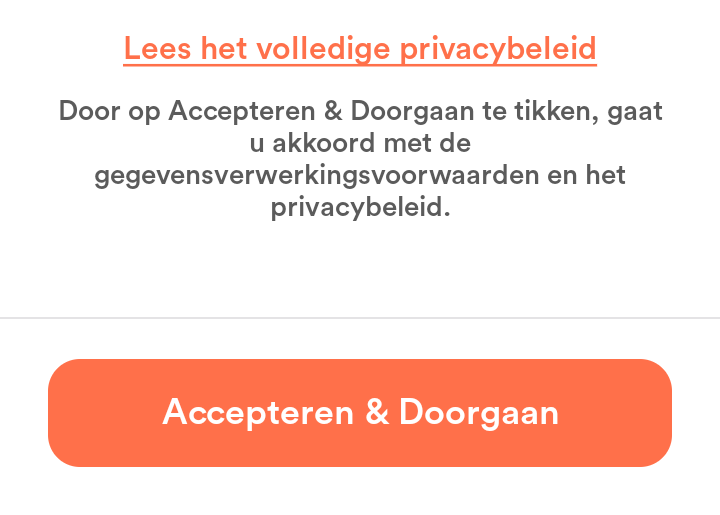
Privacy policy
- Read the full privacy policy carefully.
- Press Accept & Continue.
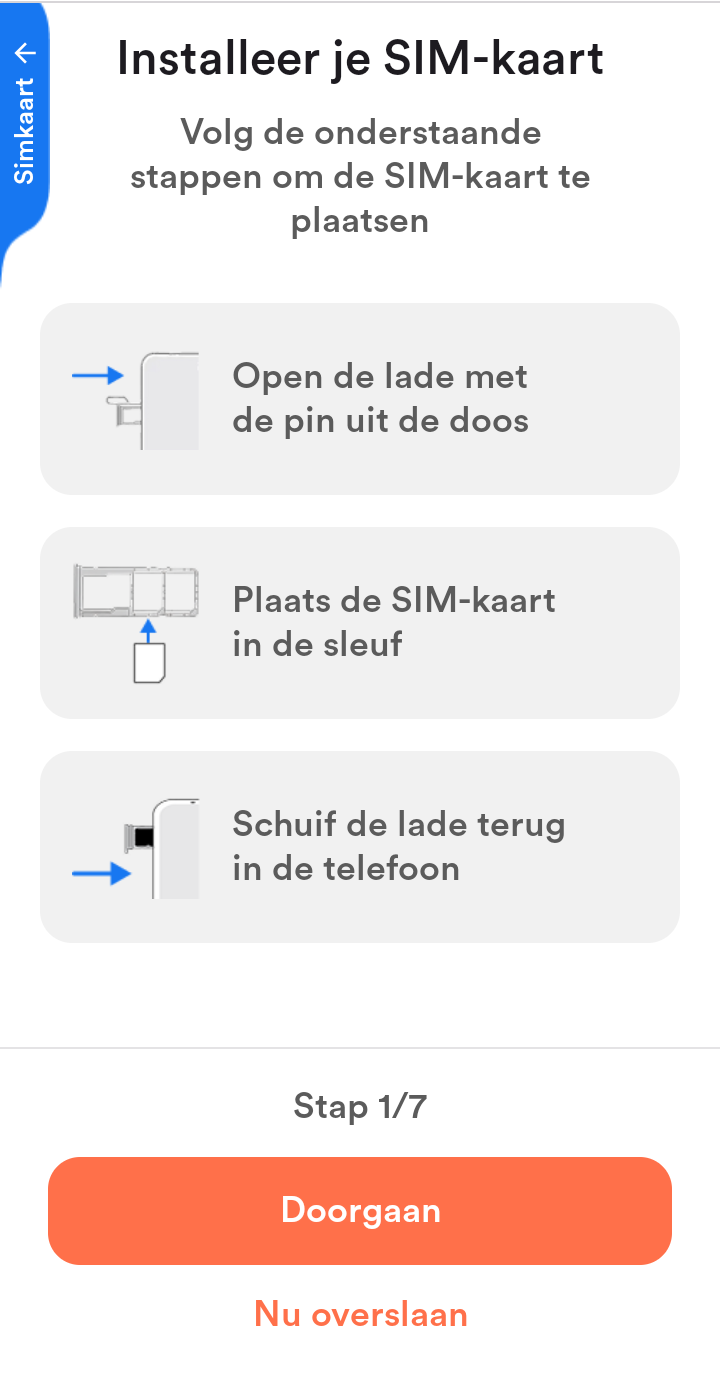
Install a SIM card
Use the included SIM tool. The tray has room for two SIM cards and a microSD card. If in doubt, refer to the detailed SIM tray explanation earlier in this manual.
- Insert the SIM tool into the hole near the SIM tray cutout.
- Pull the tray out carefully.
- Place the SIM card(s) and optional data card.
- Slide the tray fully back in. The metal side of the SIM card faces downward when inserted.
- Press Continue. Choose Skip for now if you do not want to use a SIM card.
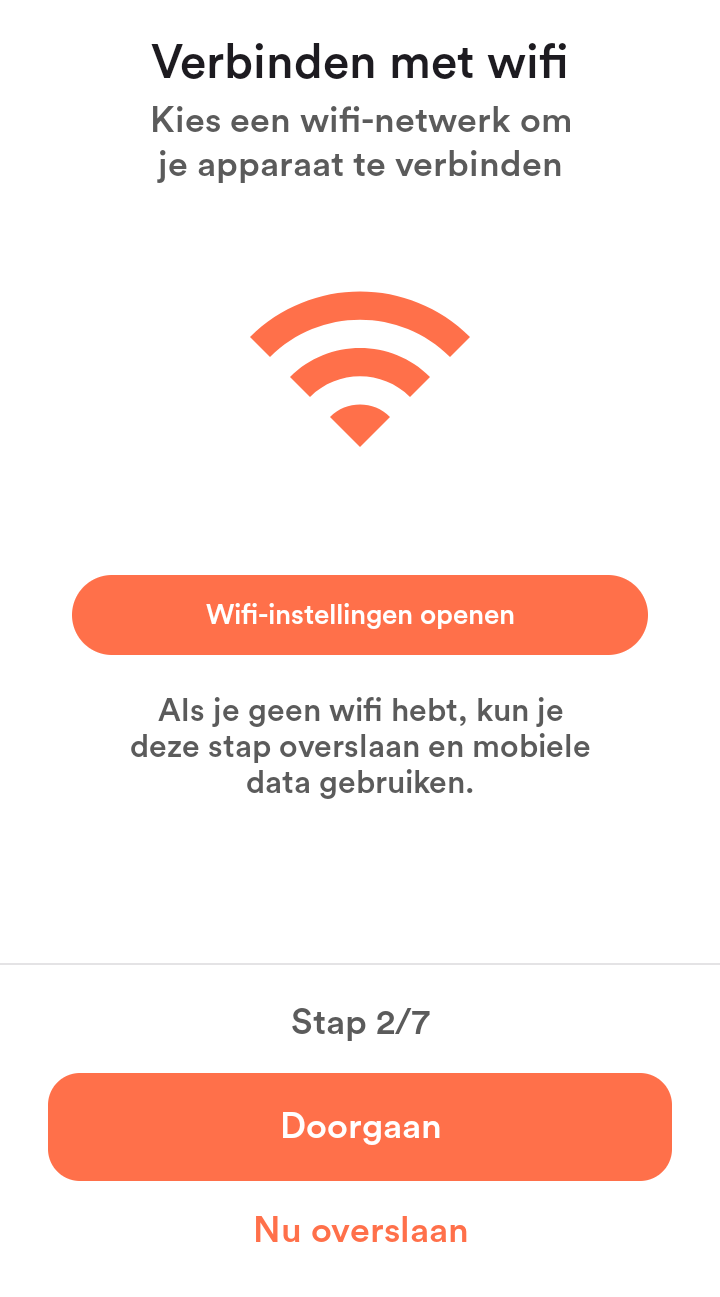
Set up Wi-Fi
Wi-Fi is required to access the internet without using mobile data.
-
Press Set up Wi-Fi.
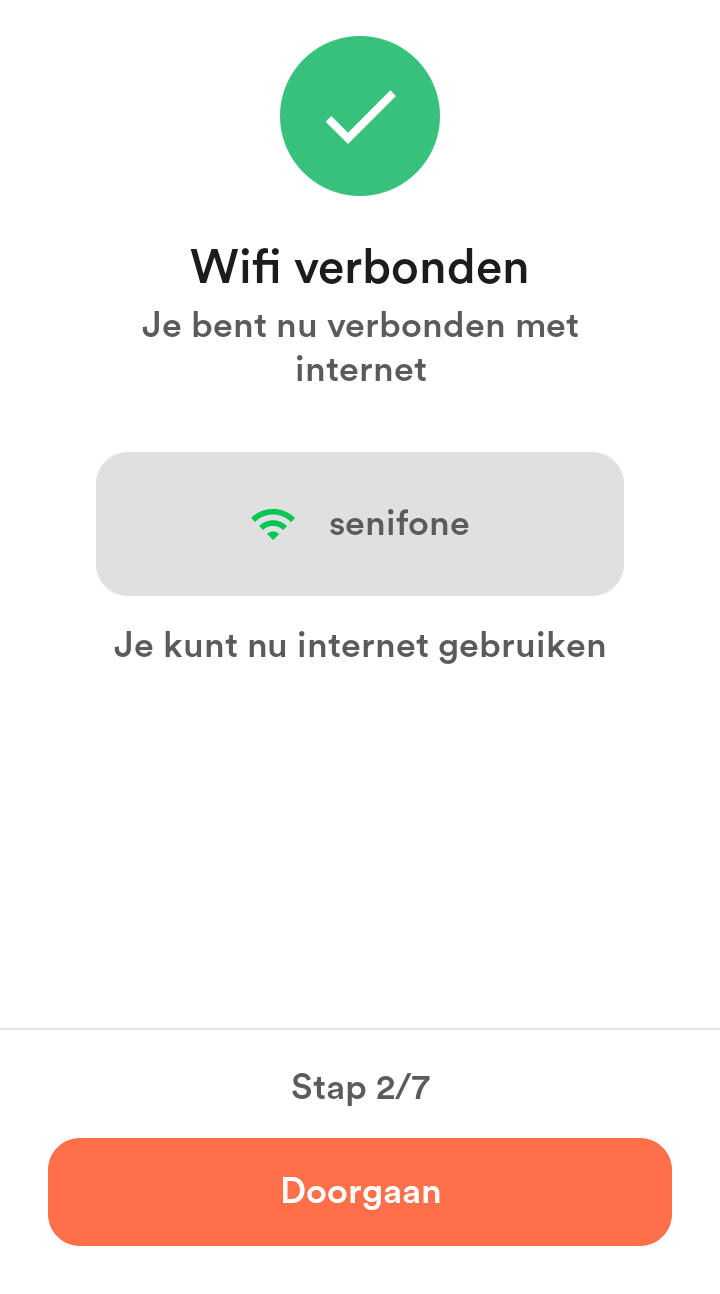
-
Choose the Wi-Fi network you want to use and enter the password.
-
You are now connected. Press Continue.
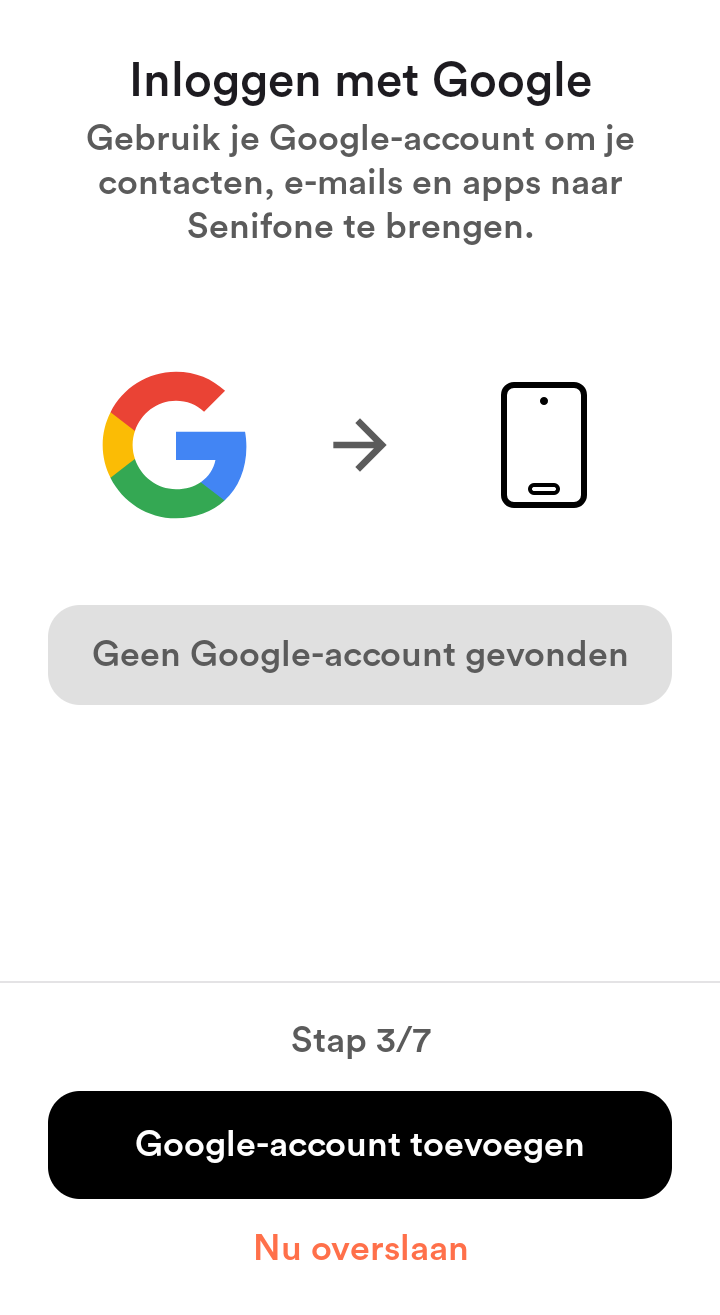
Set up a Google account (optional)
A Google account is required to use the Google Play Store. You can skip this step if you do not want to use a Google account. Press Skip for now.
- Press Add Google account.
- Enter your email address and follow the sign-in steps. If you do not have an account yet, press Create account to create one.
- Press Continue.
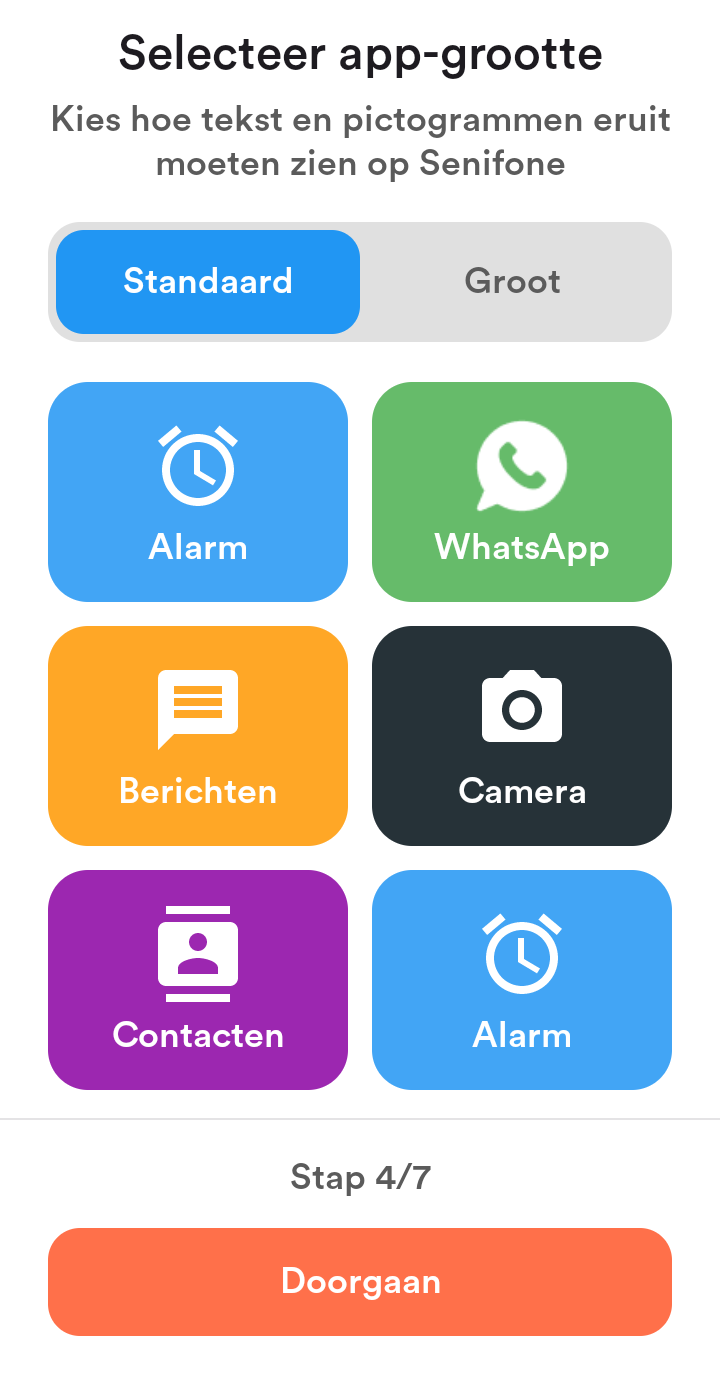
Choose app tile size
You can set the size of the home screen tiles in two ways.
- Select Standard (2×3 tiles per page) or Large (2×2 tiles per page).
- Press Continue.
Adjust text size
Text size applies to most parts of the user experience.
- Choose Standard, Large, or Extra large.
- Press Continue.

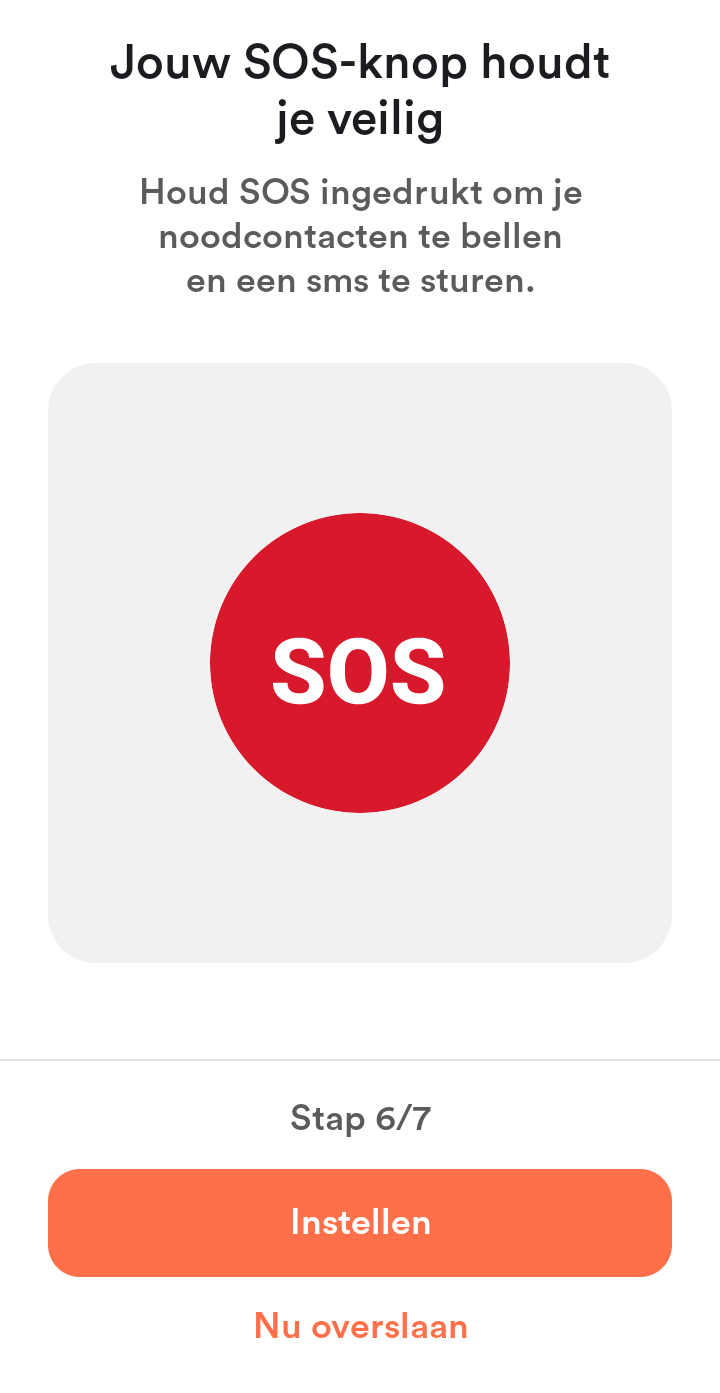
Set up the SOS button
If your SIM contacts have already loaded, you can prepare the SOS settings here. If you do not have contacts yet, press Skip for now and set up SOS later.
- Press Set up.
- When the settings are correct, press Continue.
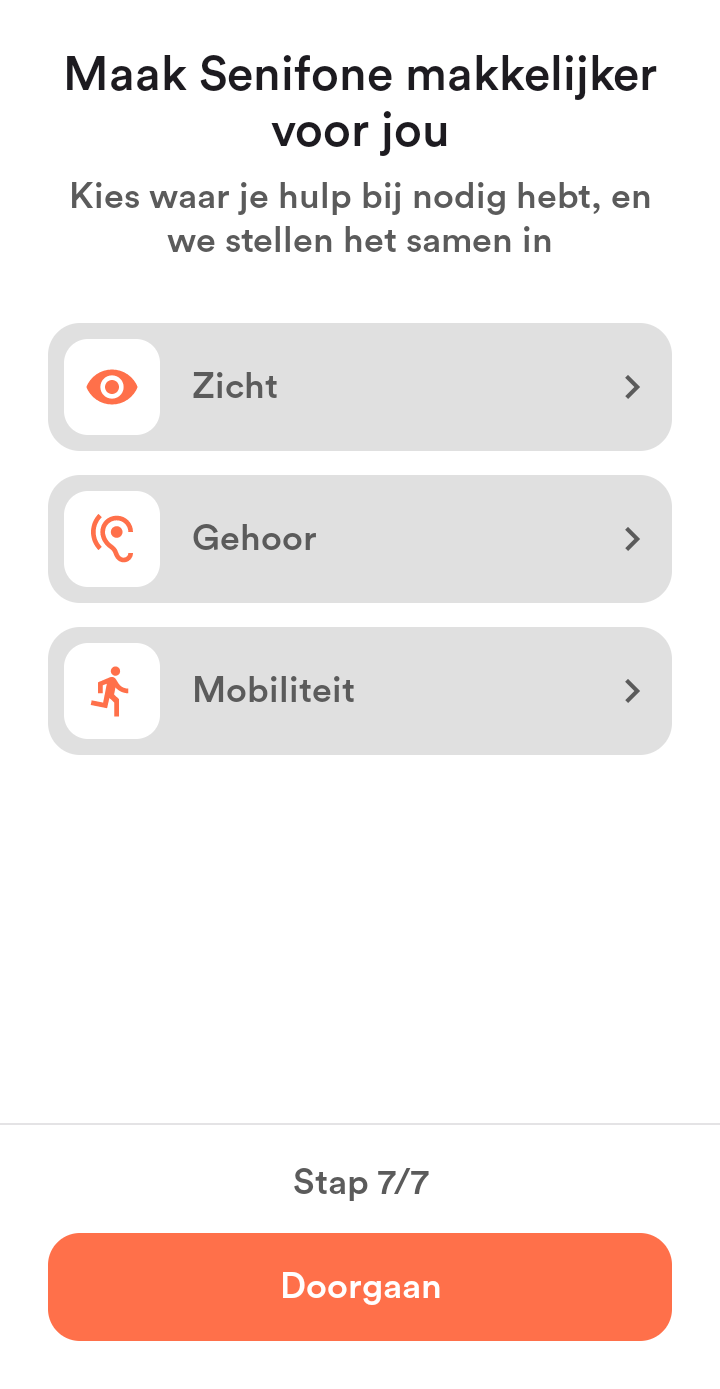
Accessibility settings
If you have difficulty with vision, hearing, or mobility, you can configure different tools here to assist you while using the Senifone.
- Press Vision, Hearing, or Mobility.
- Adjust the settings as needed.
- Press Continue when finished.
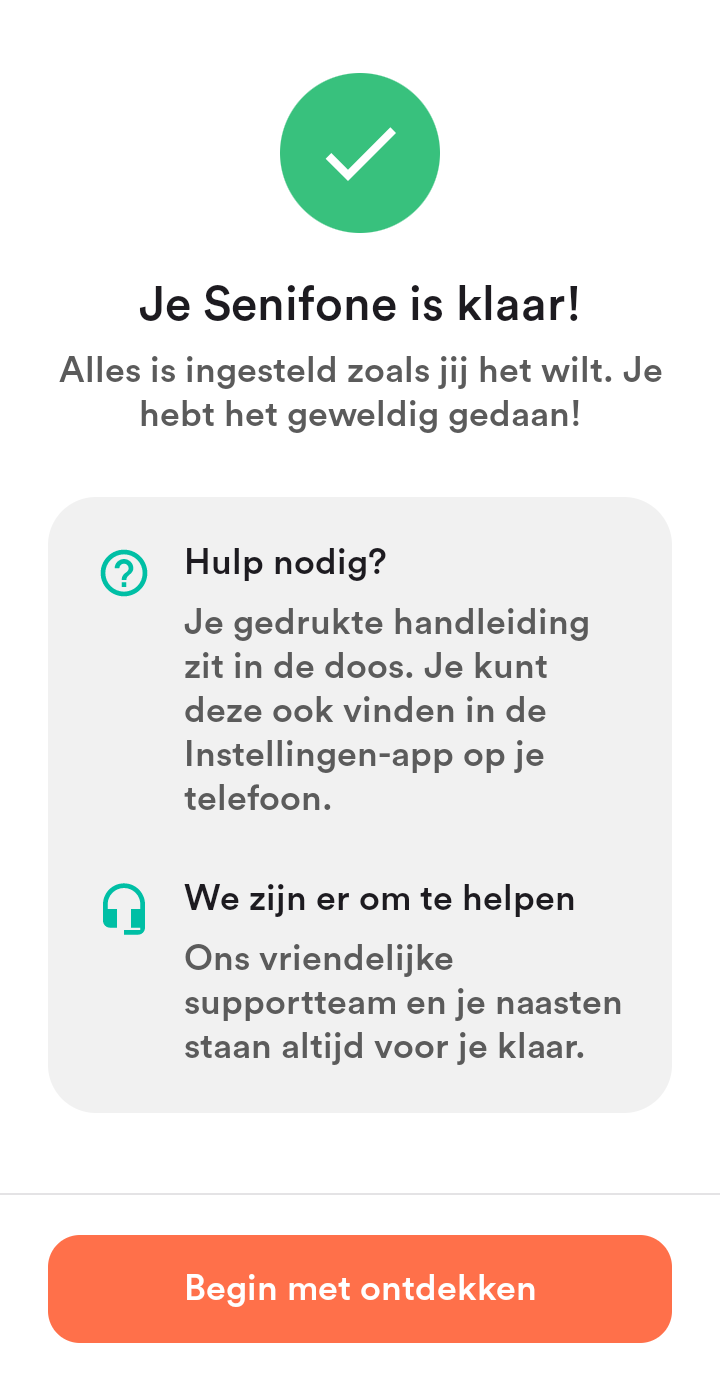
Your Senifone is now ready to use. Press Start exploring to continue using your Senifone.